We love good food in our home. I love to cook and bake for my family. I have shared recipes and pictures of our yummy goodness on different venues. Many have suggested a blog to share the recipes.

*DISCLAIMER* I am not a professional cook, photographer or writer!

I will always try to give credit for recipes. Many I have collected over the years off of TV, various websites, friends and family.

Please leave comments if you try a recipe or share variations of things I post, I always love learning new tricks of the trade.

Showing posts with label Farmer's Market. Show all posts

Saturday, August 25, 2012

Black Bean and Corn Salsa


Black Bean and Corn Salsa

Ingredients

20-25 tomatoes
8-10 peppers (we used about 4 small Bell peppers, 2-3 Anaheim, and 2-3 Jalapenos)
2 onions
1/2 cup olive oil + 2 tablespoons
6-8 cloves of garlic finely chopped
1-2 tablespoons cumin
2-3 tablespoons chili powder
2-3 teaspoons red pepper
3 cups corn (cooked and cut off the husks) (Click here for a tip on how to roast your corn easily)
1 can black beans drained
salt to taste
2-3 tablespoons sugar

Directions

  1. Cut the tomatoes, peppers and onions in half, and roast them on the grill.

  1. When the vegetables are fully grilled, and lightly blackened, pull the vegetables from the grill.  Place the tomatoes in their own separate bowl to let the juices drain.

  1. When the vegetables from the grill have cooled, in batches, food process the drained tomatoes and grilled vegetables, along with the olive oil. Set aside.

  1. In a large pot, heat 2 tablespoons of olive oil and cook the garlic until fragrant.  About 1 minute.
  2. Add the chili powder, red pepper and cumin and cook for another minute or until fragrant.
  3. Add the corn, drained black beans, and the food processed garden vegetable mixture from before.  Stir well.  Add the sugar and salt, and let simmer for about 15 minutes.
The salsa is now finished.  From here you can eat it fresh, can it, store it in the fridge, freeze it, or use it in your favorite Mexican recipe. 
When canning I use the boiling-water method.  Basically you ladle the hot salsa into hot jars, leaving about 1/4 inch head space.  Put on the two-piece caps and boil for 15 minutes in a pot of boiling water, the jars should be totally immersed in water.

Preheat oven to 350°F 2 Rinse ears. 3 Place corn cobs in middle rack in oven. 4 Bake for 30 minutes. 5 Remove corn cobs. Pull back husks and enjoy!
 

Black Bean and Corn Salsa

Ingredients

20-25 tomatoes
8-10 peppers (we used about 4 small Bell peppers, 2-3 Anaheim, and 2-3 Jalapenos)
2 onions
1/2 cup olive oil + 2 tablespoons
6-8 cloves of garlic finely chopped
1-2 tablespoons cumin
2-3 tablespoons chili powder
2-3 teaspoons red pepper
3 cups corn (cooked and cut off the husks) (Click here for a tip on how to roast your corn easily)
1 can black beans drained
salt to taste
2-3 tablespoons sugar

Directions

  1. Cut the tomatoes, peppers and onions in half, and roast them on the grill.
  2. When the vegetables are fully grilled, and lightly blackened, pull the vegetables from the grill.  Place the tomatoes in their own separate bowl to let the juices drain.
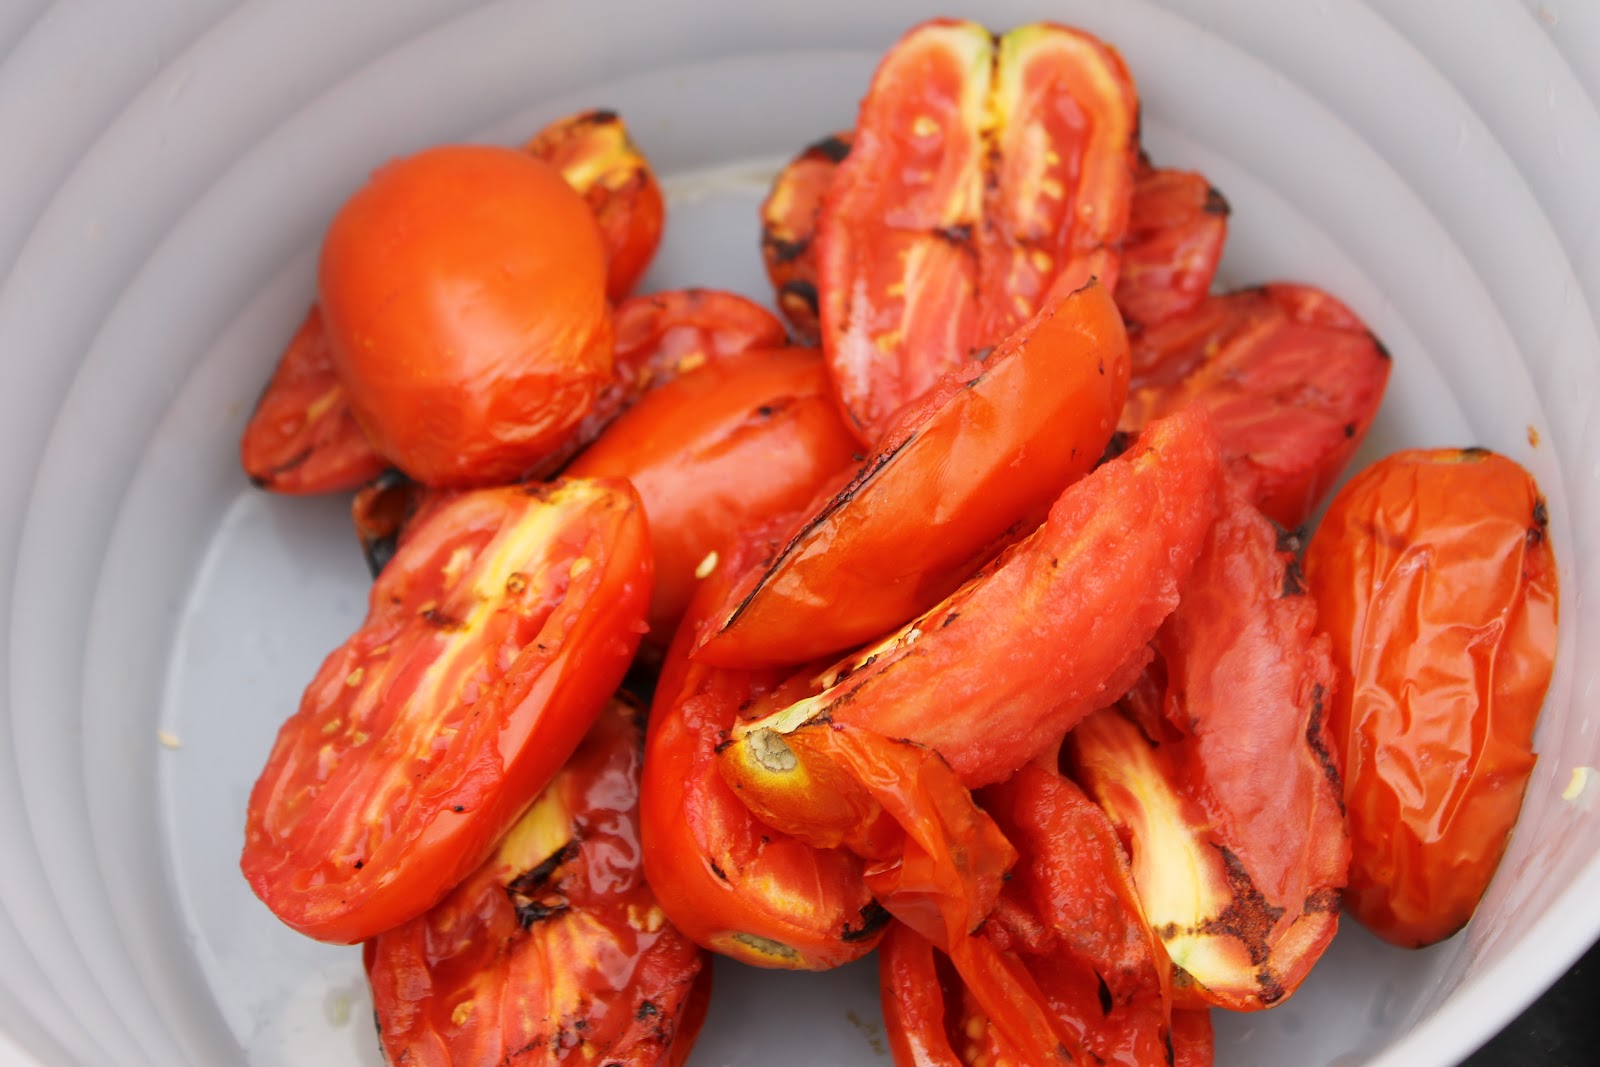
  3. When the vegetables from the grill have cooled, in batches, food process the drained tomatoes and grilled vegetables, along with the olive oil. Set aside.
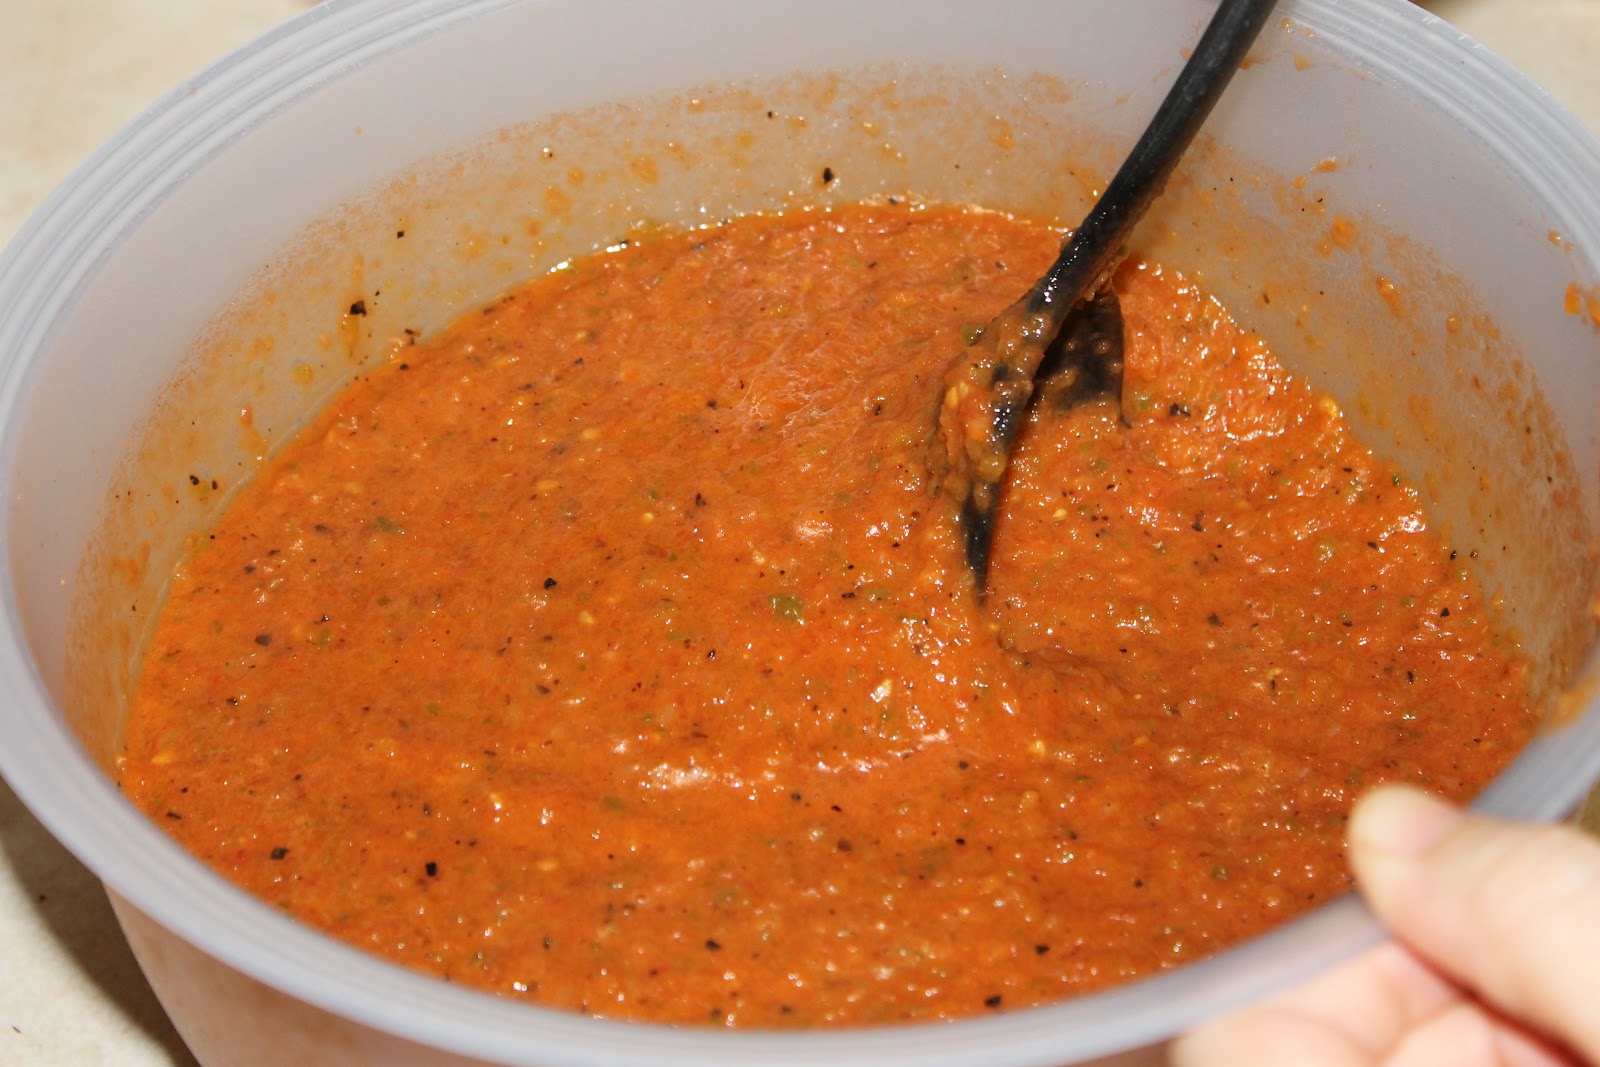
  4. In a large pot, heat 2 tablespoons of olive oil and cook the garlic until fragrant.  About 1 minute.
  5. Add the chili powder, red pepper and cumin and cook for another minute or until fragrant.
  6. Add the corn, drained black beans, and the food processed garden vegetable mixture from before.  Stir well.  Add the sugar and salt, and let simmer for about 15 minutes.
The salsa is now finished.  From here you can eat it fresh, can it, store it in the fridge, freeze it, or use it in your favorite Mexican recipe.  .
When canning I use the boiling-water method.  Basically you ladle the hot salsa into hot jars, leaving about 1/4 inch head space.  Put on the two-piece caps and boil for 15 minutes in a pot of boiling water, the jars should be totally immersed in water.


Sunday, June 3, 2012

Marinated Cucumbers

 
Our local farmer's market is open for business and that makes this girl very happy!  I picked up some fresh cucumbers, tomatoes, green beans and cauliflower this past weekend.  We had pot roast for dinner and I wanted something light and refreshing along with it.  I know cucumbers probably doesn't sound like a good combination but it was actually quite refreshing.  I know many people make something like this with onions but I don't enjoy onions and since I was the one that really wanted it, I made it to make my taste buds happy!

Marinated Cucumbers
4 medium cucumbers, thinly sliced
1/2 cup vinegar
1/4 cup cold water
2 tablespoons chopped dill
3 tablespoons sugar
1/2 teaspoon salt
dash pepper

Combine sliced cucumber with all other ingredients; cover and refrigerate for 2 to 3 hours before serving.

Monday, September 5, 2011

Easy Pickles


This is a simple recipe for making your own pickles out of pickling cucumbers. I suggest trying out a small recipe to make sure you like the flavors and then increasing the recipe. Our family really enjoys these. If you have ever had Claussen pickles then you will like these pickles.
4 cucumbers -pickling cucumbers really work best (soaking them in ice water for about 2 hours will help them to be crisp)
Brine
3 cups water
1 cup white vinegar
2 Tbsp + 2 tsp pickling salt
Peppercorns - to taste
Red pepper flakes - to taste depending on how much heat you want.
2 garlic cloves (I like to mince mine but you can leave them whole)
2-3 dill sprigs (dry dill weed works too)
Bring the brine to a boil at the same time that you are boiling the jars.
Wash the jars and lids with soap and hot water. Boil the jars for 10 minutes.
Cut the cucumbers in spears and place in the boiled jars. Pour the brine over the top, covering by an inch or so. Add 2 garlic cloves and 2-3 dill sprigs per jar. Put on lids, tighten and boil for another 15 minutes. (The water should still be boiling from the previous step)

Saturday, August 20, 2011

Fresh Spaghetti Sauce

I got some fabulous Amish tomatoes and fresh herbs (oregano, basil & thyme) in my Harvest Box this week and decided to make some Spaghetti Sauce. I am going to walk you through the steps versus telling you measurements because the fun thing about homemade spaghetti sauce is that it's all about what you like and the flavors you like. This will hopefully give you some type of basis to start your own flavor profiles for a really great sauce.

I had about 10 or 12 tomatoes (I kept meaning to count but I have kids who feel the need to talk to me when I'm trying to do something...I know that NEVER happens to anyone else!)

I rinsed the tomatoes then cut a small "x" in the bottom. This will help you peel them later (trust me on this).Drop them into a pot of already boiling water for about a minute.
Then put them in a bowl of ice water (not sure what happened to that picture!)

As you can see in the picture below, you have a nice start for when you peel your tomatoes. I actually just pulled them off by hand, didn't even need a knife!Now this step may or may not be necessary for you, if you like a more chunky sauce and plan on simmering for a long time (3-4 hours) then you don't need to puree in a blender or food processor. My kids do not enjoy big tomato chunks and I was planning on only simmering for an hour so I put the peeled tomatoes in a blender.
Next I put a couple tablespoons of olive oil in my heated pot, adding in garlic...this is probably my favorite step, I just love the smell of garlic heating up!After the garlic got nice and toasted and the air smelled amazing, I added in some green pepper and onion (remember what I said about the kids not liking chunky, that's why my stuff looks like mush, I put it in the food processor for a bit). This is when I added in my fresh herbs...oregano, basil and thyme. Oh yeah, the air was smelling even more amazing as the flavors were being pulled from the fresh herbs!
I added my tomato puree to the sauteed vegetables and then added about a tablespoon of sugar, and some salt and pepper. If you want your sauce to be a little thicker you can add a can of tomato paste. I did add some tomato paste and for a little heat I also added a shake of Hot Shot which is a red/black pepper blend.
We served it over some wonderful parsley flavored noodles we also got with our Harvest Box...

Hot Pepper Mustard/Butter

For my inaugaral canning experience I found this wonderful recipe that would help me use up the banana peppers that were feeling sad in my veggie basket. We had eaten plenty but the kids didn't want them anymore and I didn't want them to go to waste. When researching banana pepper recipes I found this one on three different websites so I figured it must be good. It is a hit with the family and it was super easy to make. I ended up using a mixture of peppers but the flavor is quite delicious and the color is beautiful! If you are wondering why I called it mustard/butter it's because the same recipe had two different names. You can call it whatever makes you happy!

The color of the butter will vary, depending on the peppers, from a green/yellow to an orange. This is okay. It looks much nicer if you seed the peppers.

I actually cut this recipe into a third.

Hot Pepper Mustard/Butter
36 hot banana peppers (or whatever you have, you will see in my pic that I used a combination of peppers)
1 quart cider vinegar
1 quart prepared mustard (yes, you have to use mustard to make mustard, interesting concept...no?)
6 cups sugar
1 cup flour
water

Directions

Grind peppers finely (I put in food processor until they are a mush).
As you can see I left a bit of texture in it so it's not complete mush
Place peppers, vinegar, mustard & sugar in a large pot & cook a while (until pepper bits are translucent). Add flour (that has been thinned to a smooth paste with cold water) to mixture in pot, stirring constantly. Cook until thick and smooth.

Pour into hot jars,

seal, boiling water bath fifteen minutes.

And ta-da my first ever canning jars...hearing that wonderful "ping" was magnificent!

The husband and the boys have already planned what they are going to eat this with..pretzels, bratwursts, sandwiches and hot dogs!

Zucchini Pickles

We continue to enjoy our fresh vegetables from our local Farmer's Market and I am enjoying trying this canning business. Although this recipe isn't really a canning recipe because it makes a small amount and you put it right in the refrigerator I still feel quite accomplished. These pickles will have a mustard flavor because of the mustard seeds but they are quite tasty. Enjoy!

ZUCCHINI PICKLES
makes about 2 pints.

1 pound zucchini squash, thinly sliced
1 small yellow onion, peeled and sliced
2 tablespoons pickling salt

BRINE
2 cups apple cider vinegar
1 cup granulated sugar
1-1/2 teaspoons dry mustard
1 1/2 teaspoons mustard seeds
1 teaspoon ground turmeric

Not sure where the onion was in this picture but you need an onion!

1. Place the zucchini and onions slices in the large bowl, add the salt, and toss to distribute.

Add a few cubes of ice and enough cold water to cover. Stir to dissolve the salt, and allow to soak for about 1 hour.

2. After the 1 hour soak, taste and feel a piece of the zucchini. It should be softened and taste faintly salty. Drain well,

and spin a few handfuls at a time

in a salad spinner, or drain on towels.

3. Combine the vinegar, sugar, dry mustard, mustard seeds, and turmeric in the small saucepan and simmer for about 3 minutes. Remove from heat and allow to cool until just warm to the touch.

The brine should not be too warm, or it will cook the vegetables and make them soft.

4. Pack the zucchini and onions into the two pint jars,

then ladle the brine over the vegetables. Cover and refrigerate for at least one day before serving. Will keep in the refrigerator indefinitely.

Sunday, August 14, 2011

Eggplant Snack Sticks

You gotta love Taste of Home Recipes, I have so many that now sit in my recipe box that I constantly fall back to time and time again. This will be one of them as well. One of my issues with Eggplant is the texture. So unless I'm frying it, I have a hard time eating it. This recipe got it just crispy enough and kept the natural flavor of it balanced out enough for me to enjoy it!


Eggplant Snack Sticks
  • 1 medium eggplant (1-1/4 pounds)
  • 1/2 cup toasted wheat germ
  • 1/2 cup grated Parmesan cheese
  • 1 teaspoon Italian seasoning
  • 3/4 teaspoon garlic salt
  • 1 egg, beaten

I used the long skinny Eggplant (Asian)

Cut eggplant lengthwise into 1/2-in.-thick slices, then cut each slice lengthwise into 1/2-in. strips.
In a shallow dish, combine the wheat germ, cheese, Italian seasoning and garlic salt.Dip eggplant sticks in egg, then coat with wheat germ mixture.
  • Arrange in a single layer on a baking sheet coated with cooking spray.
  • Spritz eggplant with cooking spray. Broil 4 in. from the heat for 3 minutes. Remove from the oven. Turn sticks and spritz with cooking spray. Broil 2 minutes longer or until golden brown. Serve immediately with marinara or spaghetti sauce.

Monday, August 8, 2011

Homemade Sun-Dried Tomatoes

Well okay, these were dehydrator dried tomatoes but same concept. Note that I said dehydrator so that is what these instructions are for. With the heat we have been having across the nation, you could certainly do the rustic sun-dried method and let the sun actually dry them out but I decided to go the lazy route and use my trusty dehydrator.

I had an abundance of tomatoes and I wanted to use as many as I could before I had to start throwing them out to the wild animals that live in our woodline. I love cooking and even baking with sun-dried tomatoes so I figured this would be a great way to use some of these 'maters up.

Now, from everything I read, roma style tomatoes are the best but any kind work. The key is not to have any that are too overripe otherwise they will take forever to pull the moisture from. I just used what I had...
I sliced the tomatoes in half, then scraped out the seeds and pulp out of most of them and even quartered some of those slides. I then sprinkled salt all over the sliced tomatoes. For the last batch (which isn't pictured) I sprinkled salt and Italian Herbs to give a little different flavor.

I lined them up on my dehydrator trayIn my dehydrator these took almost 8 hours to dry (they were a little juicer than I thought, so they took a bit longer). You want them to be dry of moisture but not so dry they crumble.I put most of them in freezer bags and froze to use later. But a few of the regular and a few that I sprinkled Italian Herbs on, I put in jars and covered in olive oil to use for cooking/baking later on.

Zucchini Brownies

We got some great zucchini in our Harvest Box last week and I decided to do some yummy baked goods. School is getting ready to start so it's time to bake up some breads and muffins that I can freeze and the kids can grab and go in the morning. But today I started off with a nice treat of Zucchini Brownies. I love using Zucchini in brownies because it makes them so moist! My kids love these and they add a little bit of veggies (or fruit if that is what your vote that zucchini is!) into their snack!

Zucchini Brownies

1/2 cup vegetable oil
1 1/2 cups white sugar
2 teaspoons vanilla extract
2 cups all-purpose flour
1/2 cup unsweetened cocoa powder
1 1/2 teaspoons baking soda
1 teaspoon salt
2 cups shredded zucchini
1/2 cup chopped walnuts (optional...I do not enjoy nuts of any type in my baked goods)
Directions

Preheat oven to 350 degrees F (175 degrees C). Grease and flour a 9x13 inch baking pan.
In a large bowl, mix together the oil, sugar and 2 teaspoons vanilla until well blended.

Combine the flour, 1/2 cup cocoa, baking soda and salt; stir into the sugar mixture.

Fold in the zucchini and walnuts.
(Your batter will not look as thin/runny as regular brownies, but don't worry, they will be fine! The zucchini will bring out the moisture as it bakes!) Spread evenly into the prepared pan.

Bake for 25 to 30 minutes in the preheated oven, until brownies spring back when gently touched. To make the frosting, melt together the 6 tablespoons of cocoa and margarine; set aside to cool. In a medium bowl, blend together the confectioners' sugar, milk and 1/2 teaspoon vanilla. Stir in the cocoa mixture. Spread over cooled brownies before cutting into squares.

For Chocolate Frosting:
6 tablespoons unsweetened cocoa powder
1/4 cup margarine
2 cups confectioners' sugar
1/4 cup milk
1/2 teaspoon vanilla extract
melt together the 6 tablespoons of cocoa and margarine; set aside to cool. In a medium bowl, blend together the confectioners' sugar, milk and 1/2 teaspoon vanilla. Stir in the cocoa mixture. Spread over cooled brownies before cutting into squares.
For Cream Cheese Frosting:
2 Tablespoons Butter, Softened
1 package (8 Oz. Size) Cream Cheese, Softened
2 cups Powdered Sugar,
2 teaspoons Vanilla Extract
Combine butter and cream cheese in a large bowl. Beat with a mixer at medium speed until smooth. Beat in powdered sugar and vanilla just until smooth