We love good food in our home. I love to cook and bake for my family. I have shared recipes and pictures of our yummy goodness on different venues. Many have suggested a blog to share the recipes.

*DISCLAIMER* I am not a professional cook, photographer or writer!

I will always try to give credit for recipes. Many I have collected over the years off of TV, various websites, friends and family.

Please leave comments if you try a recipe or share variations of things I post, I always love learning new tricks of the trade.

Showing posts with label Tomato. Show all posts

Saturday, August 25, 2012

Black Bean and Corn Salsa


Black Bean and Corn Salsa

Ingredients

20-25 tomatoes
8-10 peppers (we used about 4 small Bell peppers, 2-3 Anaheim, and 2-3 Jalapenos)
2 onions
1/2 cup olive oil + 2 tablespoons
6-8 cloves of garlic finely chopped
1-2 tablespoons cumin
2-3 tablespoons chili powder
2-3 teaspoons red pepper
3 cups corn (cooked and cut off the husks) (Click here for a tip on how to roast your corn easily)
1 can black beans drained
salt to taste
2-3 tablespoons sugar

Directions

  1. Cut the tomatoes, peppers and onions in half, and roast them on the grill.

  1. When the vegetables are fully grilled, and lightly blackened, pull the vegetables from the grill.  Place the tomatoes in their own separate bowl to let the juices drain.

  1. When the vegetables from the grill have cooled, in batches, food process the drained tomatoes and grilled vegetables, along with the olive oil. Set aside.

  1. In a large pot, heat 2 tablespoons of olive oil and cook the garlic until fragrant.  About 1 minute.
  2. Add the chili powder, red pepper and cumin and cook for another minute or until fragrant.
  3. Add the corn, drained black beans, and the food processed garden vegetable mixture from before.  Stir well.  Add the sugar and salt, and let simmer for about 15 minutes.
The salsa is now finished.  From here you can eat it fresh, can it, store it in the fridge, freeze it, or use it in your favorite Mexican recipe. 
When canning I use the boiling-water method.  Basically you ladle the hot salsa into hot jars, leaving about 1/4 inch head space.  Put on the two-piece caps and boil for 15 minutes in a pot of boiling water, the jars should be totally immersed in water.

Preheat oven to 350°F 2 Rinse ears. 3 Place corn cobs in middle rack in oven. 4 Bake for 30 minutes. 5 Remove corn cobs. Pull back husks and enjoy!
 

Black Bean and Corn Salsa

Ingredients

20-25 tomatoes
8-10 peppers (we used about 4 small Bell peppers, 2-3 Anaheim, and 2-3 Jalapenos)
2 onions
1/2 cup olive oil + 2 tablespoons
6-8 cloves of garlic finely chopped
1-2 tablespoons cumin
2-3 tablespoons chili powder
2-3 teaspoons red pepper
3 cups corn (cooked and cut off the husks) (Click here for a tip on how to roast your corn easily)
1 can black beans drained
salt to taste
2-3 tablespoons sugar

Directions

  1. Cut the tomatoes, peppers and onions in half, and roast them on the grill.
  2. When the vegetables are fully grilled, and lightly blackened, pull the vegetables from the grill.  Place the tomatoes in their own separate bowl to let the juices drain.
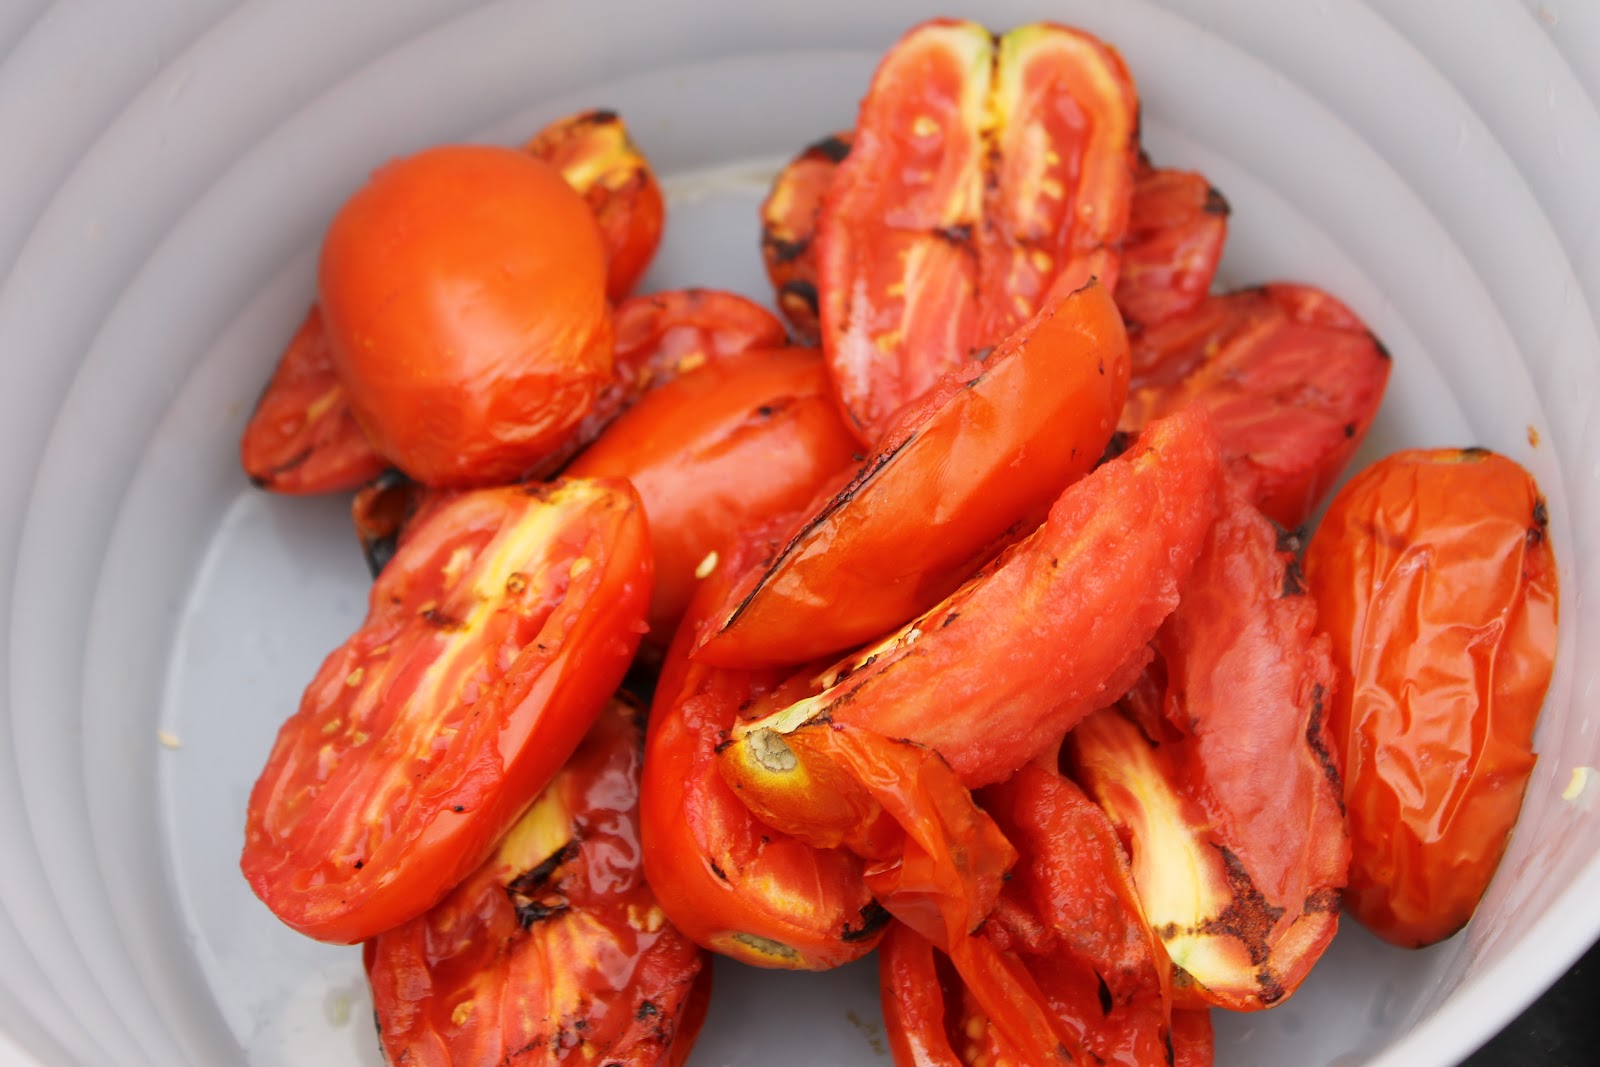
  3. When the vegetables from the grill have cooled, in batches, food process the drained tomatoes and grilled vegetables, along with the olive oil. Set aside.
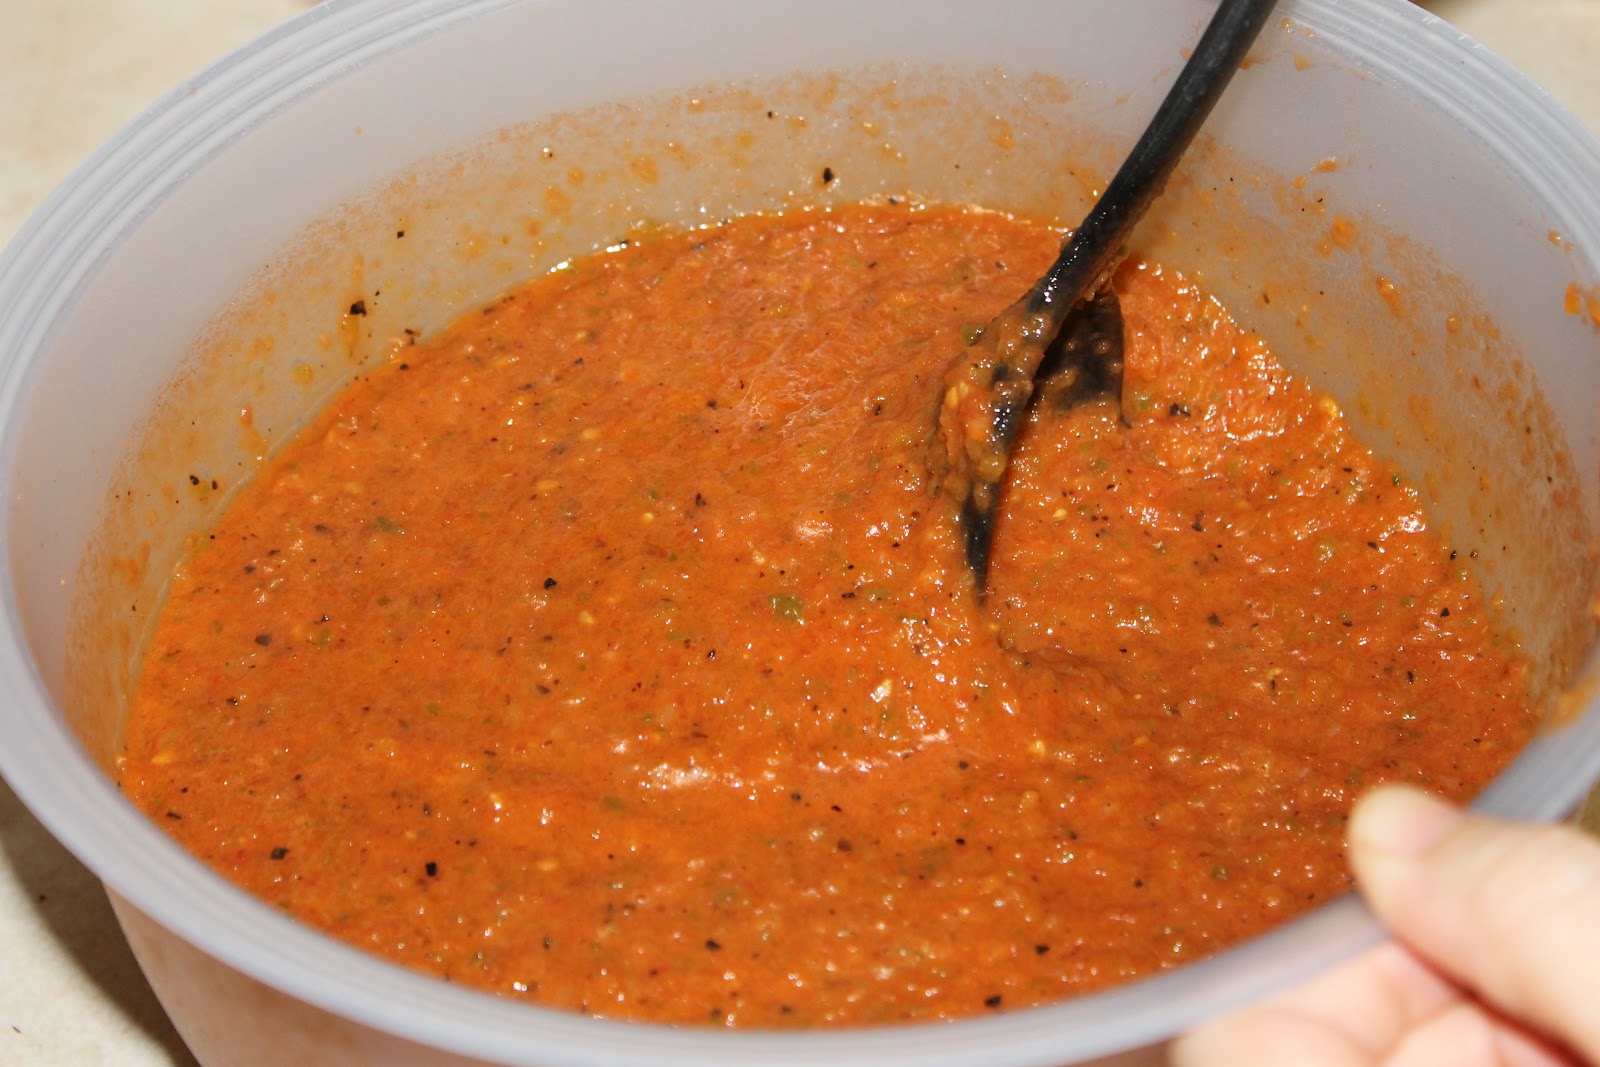
  4. In a large pot, heat 2 tablespoons of olive oil and cook the garlic until fragrant.  About 1 minute.
  5. Add the chili powder, red pepper and cumin and cook for another minute or until fragrant.
  6. Add the corn, drained black beans, and the food processed garden vegetable mixture from before.  Stir well.  Add the sugar and salt, and let simmer for about 15 minutes.
The salsa is now finished.  From here you can eat it fresh, can it, store it in the fridge, freeze it, or use it in your favorite Mexican recipe.  .
When canning I use the boiling-water method.  Basically you ladle the hot salsa into hot jars, leaving about 1/4 inch head space.  Put on the two-piece caps and boil for 15 minutes in a pot of boiling water, the jars should be totally immersed in water.


Saturday, August 20, 2011

Fresh Spaghetti Sauce

I got some fabulous Amish tomatoes and fresh herbs (oregano, basil & thyme) in my Harvest Box this week and decided to make some Spaghetti Sauce. I am going to walk you through the steps versus telling you measurements because the fun thing about homemade spaghetti sauce is that it's all about what you like and the flavors you like. This will hopefully give you some type of basis to start your own flavor profiles for a really great sauce.

I had about 10 or 12 tomatoes (I kept meaning to count but I have kids who feel the need to talk to me when I'm trying to do something...I know that NEVER happens to anyone else!)

I rinsed the tomatoes then cut a small "x" in the bottom. This will help you peel them later (trust me on this).Drop them into a pot of already boiling water for about a minute.
Then put them in a bowl of ice water (not sure what happened to that picture!)

As you can see in the picture below, you have a nice start for when you peel your tomatoes. I actually just pulled them off by hand, didn't even need a knife!Now this step may or may not be necessary for you, if you like a more chunky sauce and plan on simmering for a long time (3-4 hours) then you don't need to puree in a blender or food processor. My kids do not enjoy big tomato chunks and I was planning on only simmering for an hour so I put the peeled tomatoes in a blender.
Next I put a couple tablespoons of olive oil in my heated pot, adding in garlic...this is probably my favorite step, I just love the smell of garlic heating up!After the garlic got nice and toasted and the air smelled amazing, I added in some green pepper and onion (remember what I said about the kids not liking chunky, that's why my stuff looks like mush, I put it in the food processor for a bit). This is when I added in my fresh herbs...oregano, basil and thyme. Oh yeah, the air was smelling even more amazing as the flavors were being pulled from the fresh herbs!
I added my tomato puree to the sauteed vegetables and then added about a tablespoon of sugar, and some salt and pepper. If you want your sauce to be a little thicker you can add a can of tomato paste. I did add some tomato paste and for a little heat I also added a shake of Hot Shot which is a red/black pepper blend.
We served it over some wonderful parsley flavored noodles we also got with our Harvest Box...

Monday, August 8, 2011

Homemade Sun-Dried Tomatoes

Well okay, these were dehydrator dried tomatoes but same concept. Note that I said dehydrator so that is what these instructions are for. With the heat we have been having across the nation, you could certainly do the rustic sun-dried method and let the sun actually dry them out but I decided to go the lazy route and use my trusty dehydrator.

I had an abundance of tomatoes and I wanted to use as many as I could before I had to start throwing them out to the wild animals that live in our woodline. I love cooking and even baking with sun-dried tomatoes so I figured this would be a great way to use some of these 'maters up.

Now, from everything I read, roma style tomatoes are the best but any kind work. The key is not to have any that are too overripe otherwise they will take forever to pull the moisture from. I just used what I had...
I sliced the tomatoes in half, then scraped out the seeds and pulp out of most of them and even quartered some of those slides. I then sprinkled salt all over the sliced tomatoes. For the last batch (which isn't pictured) I sprinkled salt and Italian Herbs to give a little different flavor.

I lined them up on my dehydrator trayIn my dehydrator these took almost 8 hours to dry (they were a little juicer than I thought, so they took a bit longer). You want them to be dry of moisture but not so dry they crumble.I put most of them in freezer bags and froze to use later. But a few of the regular and a few that I sprinkled Italian Herbs on, I put in jars and covered in olive oil to use for cooking/baking later on.

Thursday, August 4, 2011

Basic Spaghetti Sauce

Back in May, I posted about doing a Freezer Meal class and my intention was to share the recipes I put in my little handout...I think I may have shared one or two but wanted to share a few more.

Basic Spaghetti Sauce

A great spaghetti sauce for once a month cookers. Can be used for pasta dishes and sauce.

1/2 lb Italian sausage (mild or hot)
1/2 lb ground beef
1 1/2 cups finely chopped onions
1 (12 ounce) can tomato paste
3 (28 ounce) cans Italian-style tomatoes or plain crushed tomatoes in puree
2 cups water
4 teaspoons minced garlic (4 cloves)
4 bay leaves
2 tablespoons sugar
4 teaspoons dried basil
2 teaspoons dried oregano
4 tablespoons chopped fresh parsley
2 teaspoons salt

In pot, brown ground beef and sausage with onions until completely brown. Drain fat.

Add remaining ingredients, bringing to a boil. Reduce heat, loosely cover and simmer for two hours, making sure to stire occasionally.

Allow to cool completely, then package in Ziplocs or plastic containers in serving sizes.

To use: thaw in refrigerator or defrost in microwave, then heat in pan.

Saturday, June 4, 2011

Fried Green Tomatoes

I first had Fried Green Tomatoes at a Logan's Steakhouse in Clarksville, TN. Kevin and I had just started dating and I had never had them before. I fell in love with them! Because I don't grow my own garden I do not have the luxury of having green tomatoes on hand during peak times so I am at the mercy of those much more talented than I. Today I hit up the Farmer's Market and they had glorious green tomatoes. I was so excited that we had them for dinner tonight! I think this recipe is one of Tyler Florence's from Food Network that I printed off a while ago. Enjoy!


Fried Green Tomatoes
  • 1 cup cornmeal
  • 1 cup all-purpose flour
  • 1 tablespoon garlic powder
  • Cayenne
  • 1 1/2 cups buttermilk
  • Kosher salt and freshly ground black pepper
  • 4 large unripe tomatoes, cut into 1/2-inch thick slices, ends removed
  • 1/2 cup vegetable oil

Aren't they gorgeous? (the tomatoes, not my slicing skills!)

In a large bowl, combine the cornmeal, flour, garlic powder, and cayenne together. (The key is to put enough seasoning in your dry ingredients to really flavor the tomatoes, you really can't overdo it!) Pour the buttermilk into a separate bowl and season with salt and pepper.

Dip the tomatoes in the buttermilk and then dredge them in the cornmeal mixture, coating both sides well.

Place a large cast iron skillet over medium heat and coat with the oil. When the oil is hot, pan-fry the tomatoes (in batches if necessary) until golden brown and crispy on both sides, about 3 to 4 minutes on each side.

Carefully remove the tomatoes and drain on paper towels or on a cooling rack with a cookie sheet underneath!

Serve with whatever type of dipping sauce you would like. We like Thousand Island dressing. Or just eat as is. There are numerous sauce recipes out there, decide what you like and go for it!